
No products in the cart.
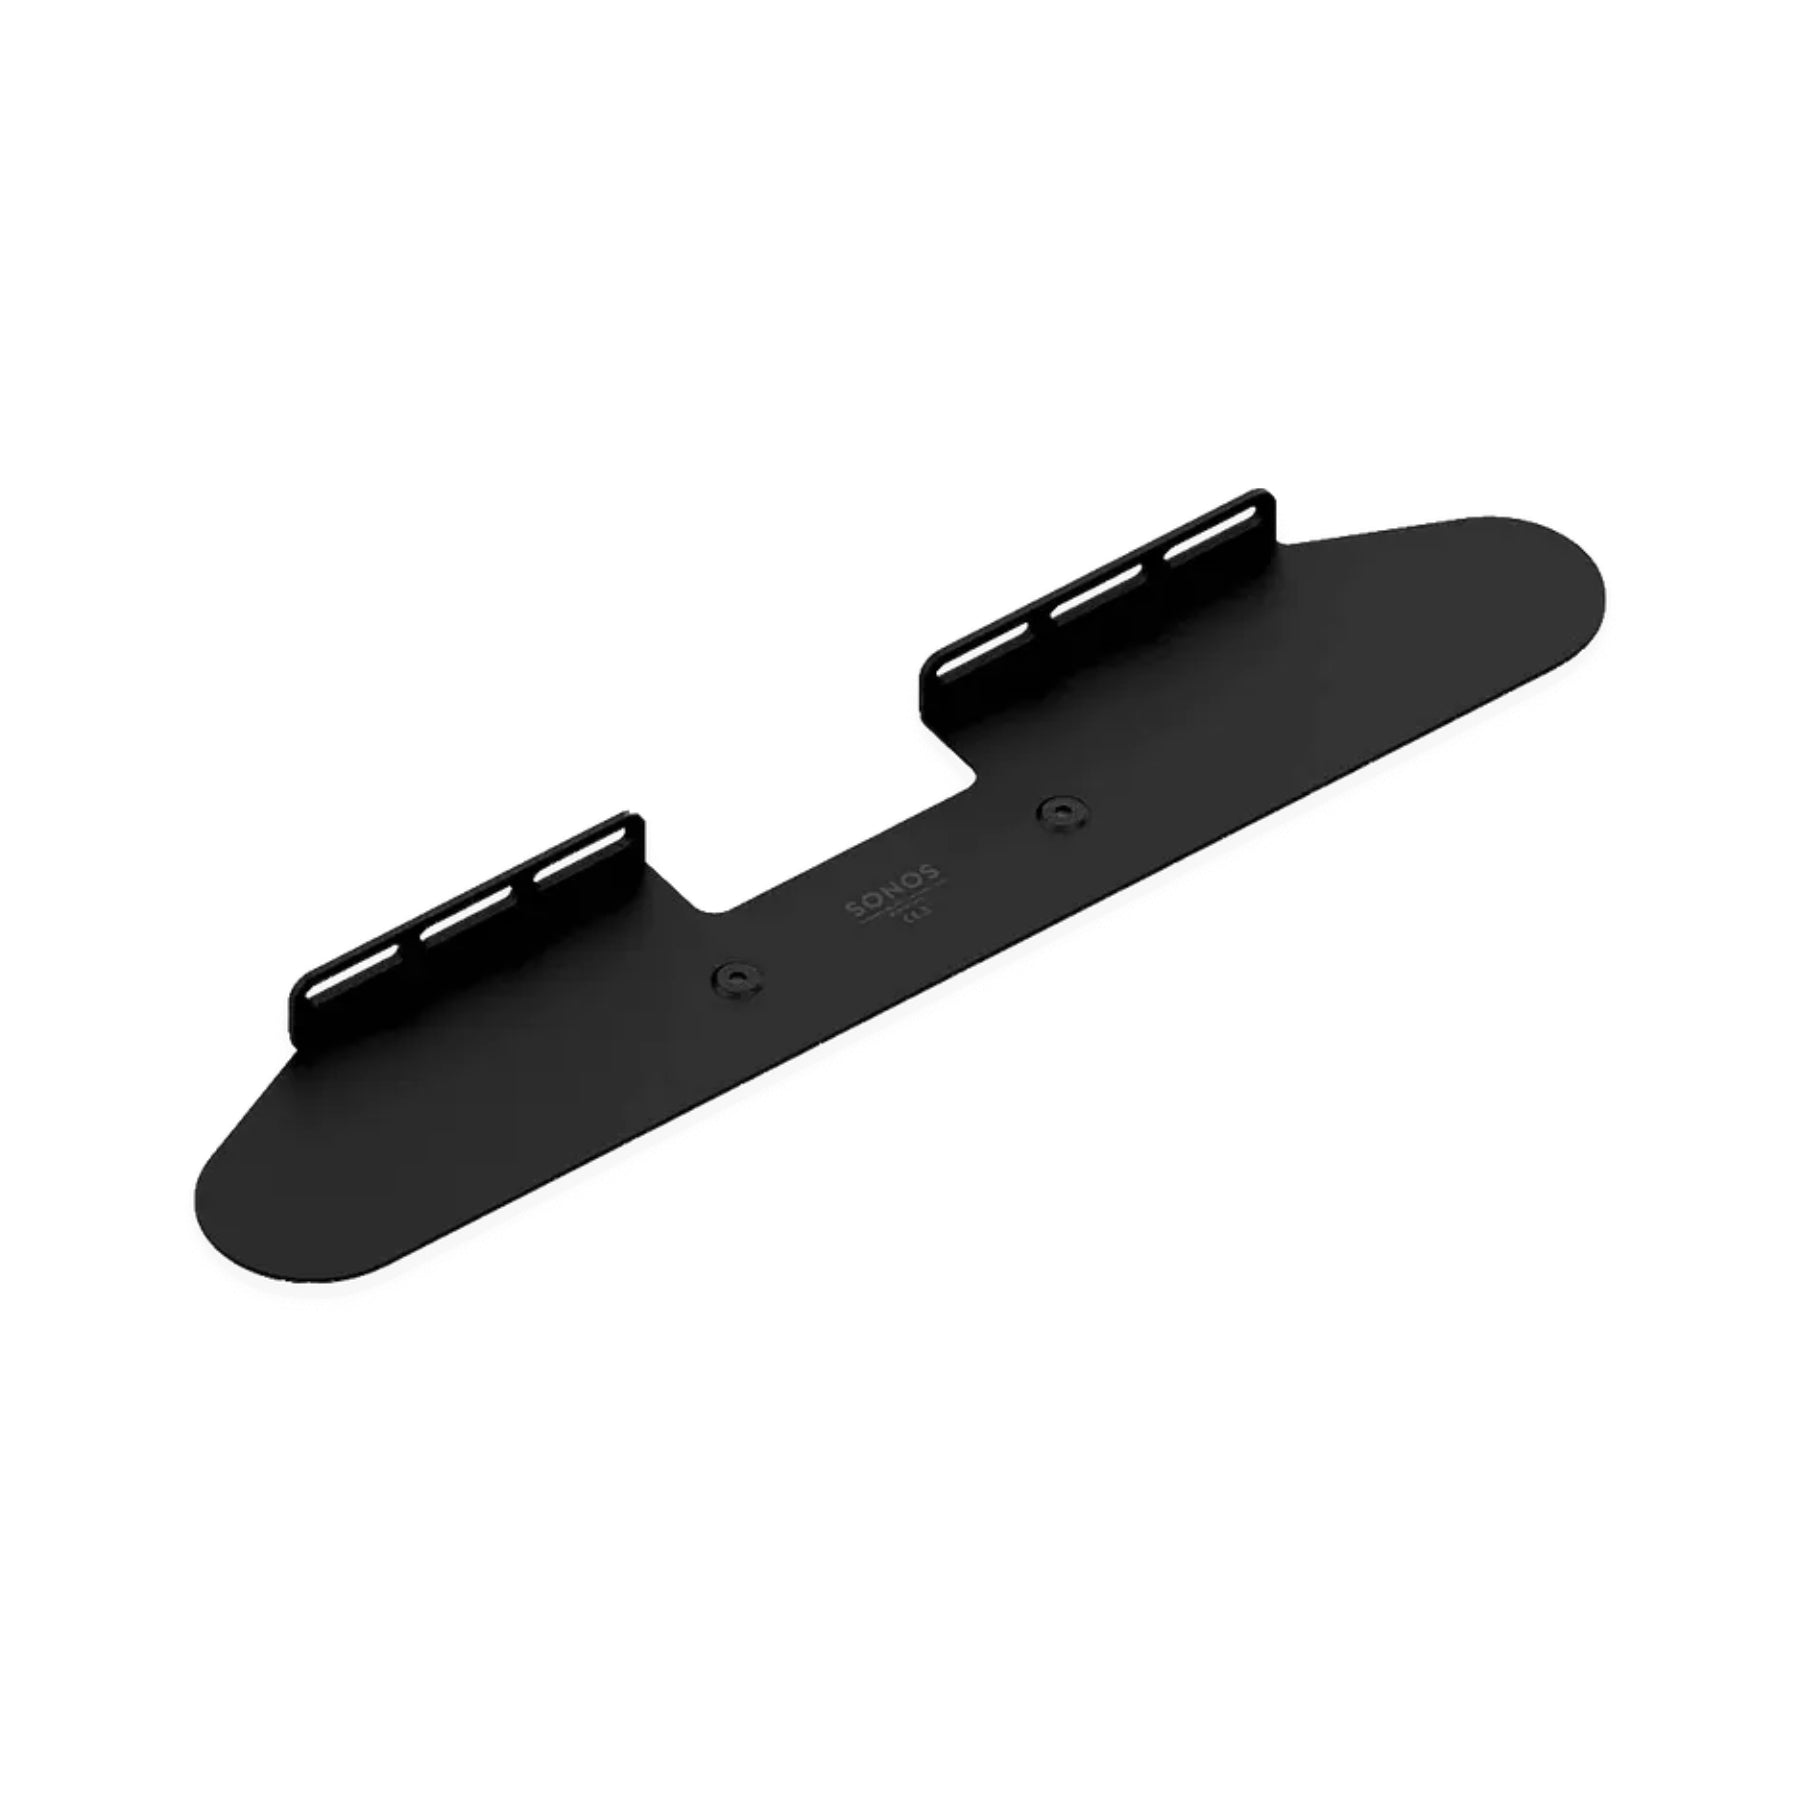
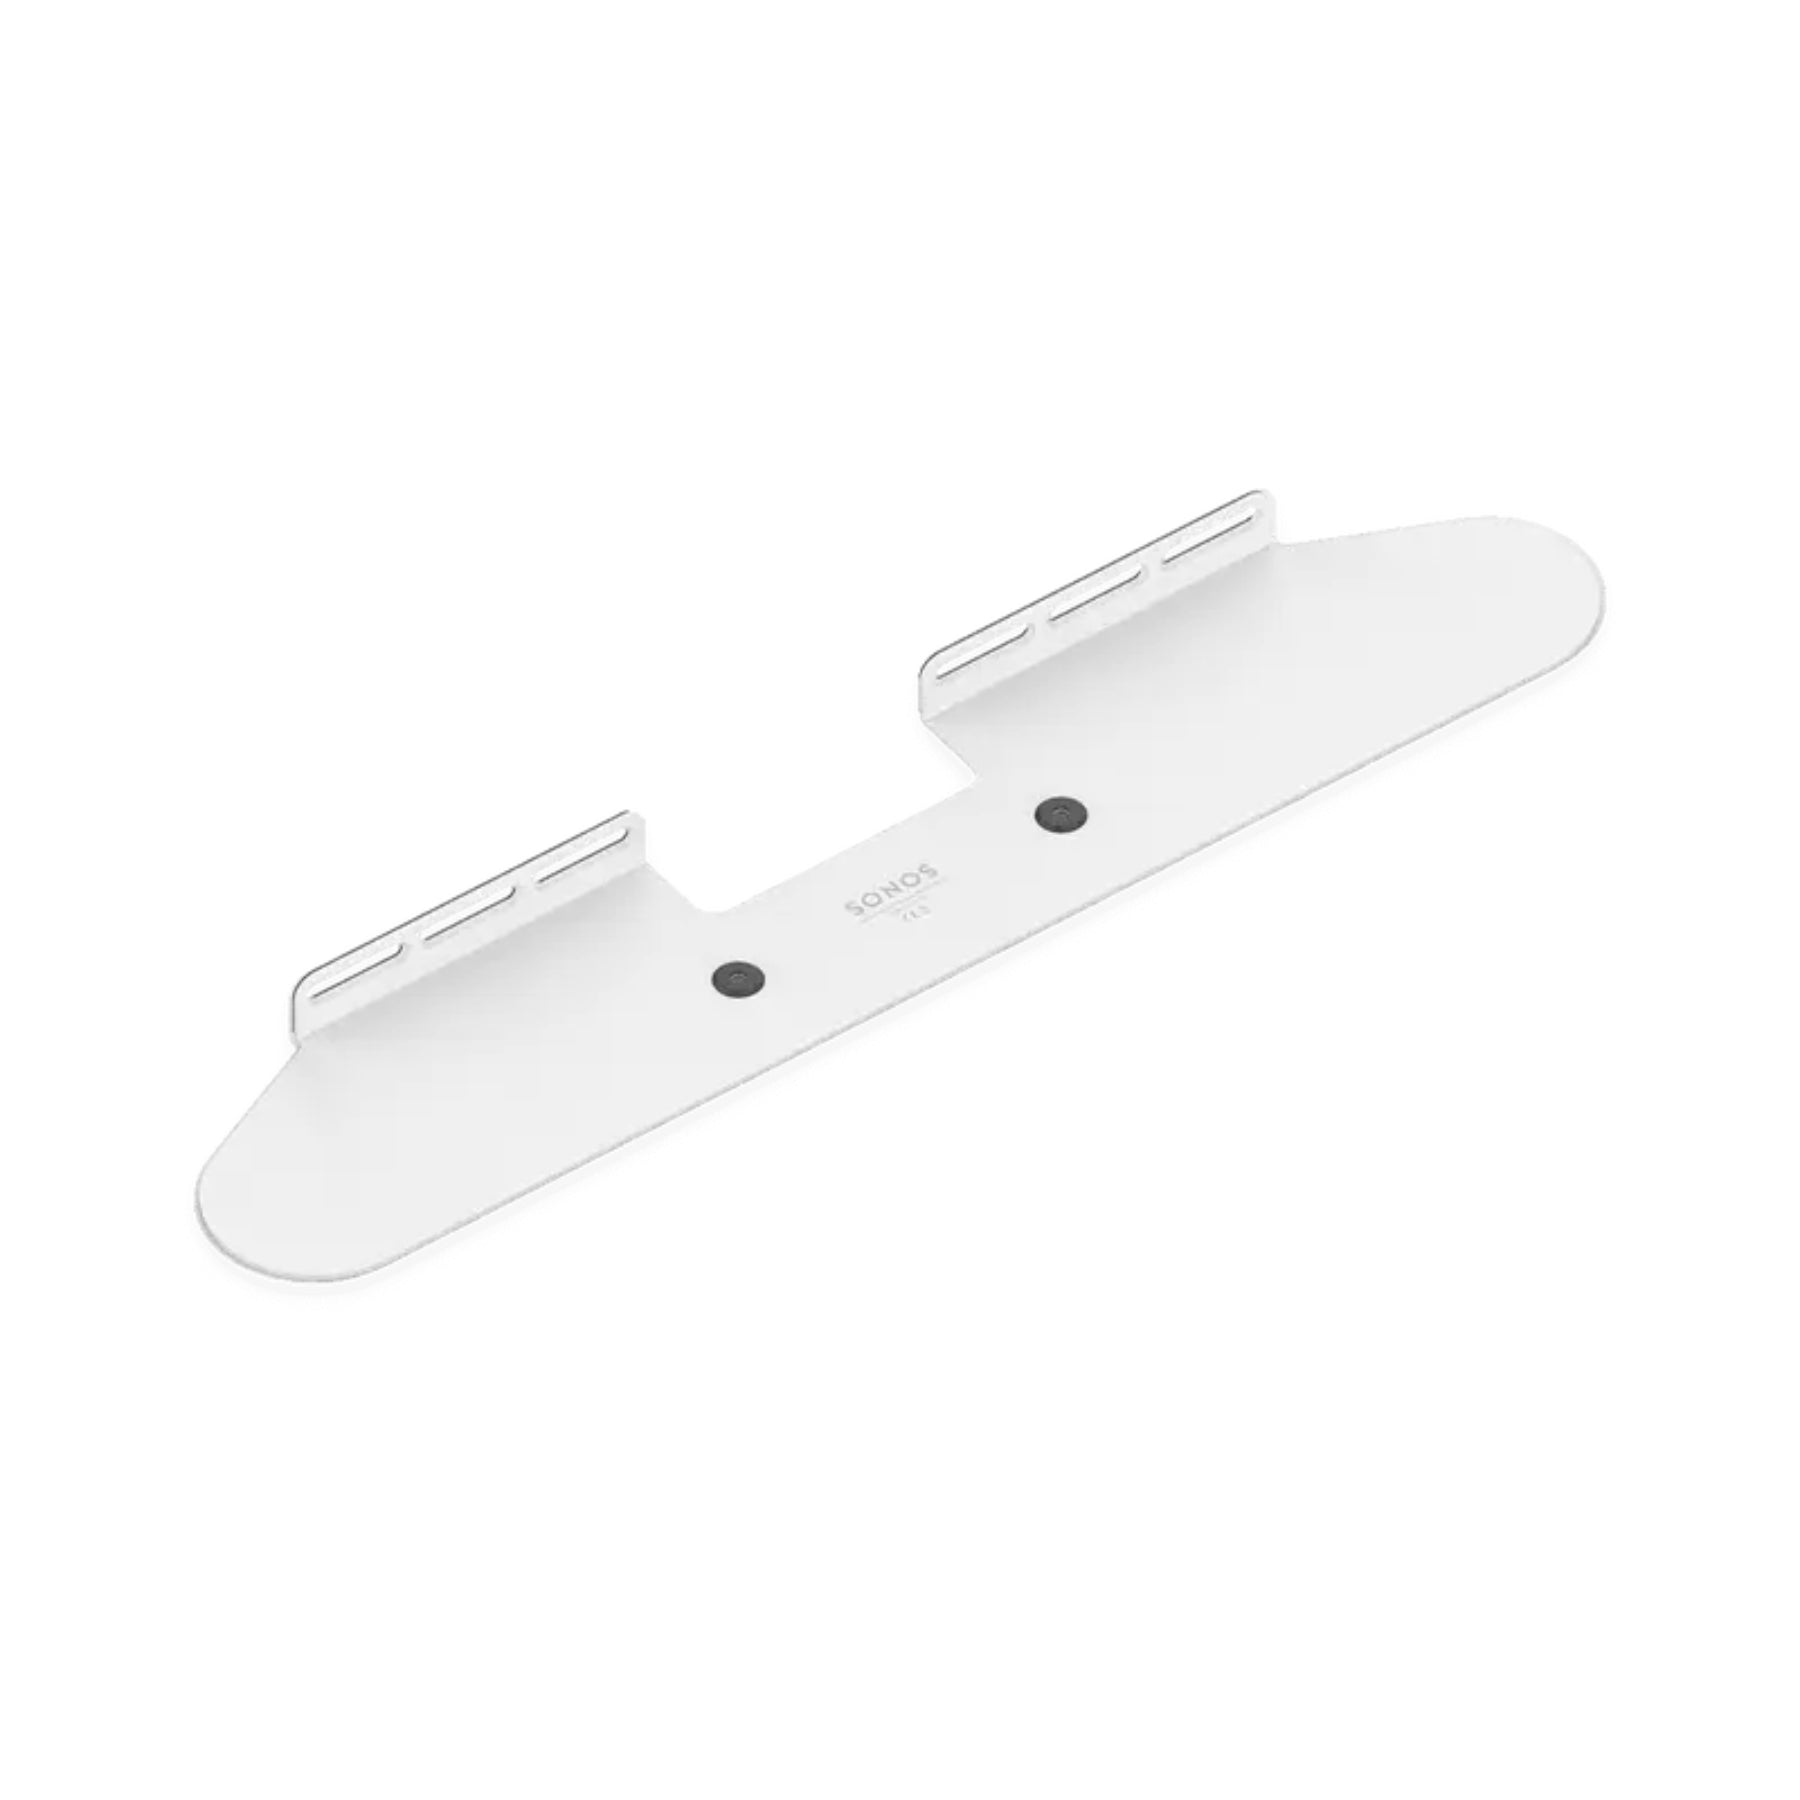


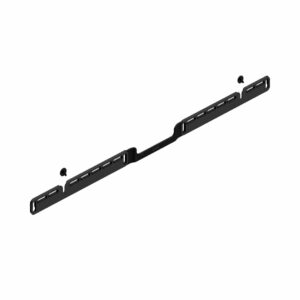
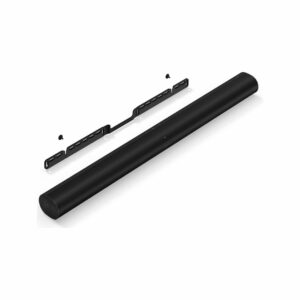
Sonos Beam Wall Mount
$49.00
Enhance the integration of your Sonos soundbar into your living space with this nearly imperceptible wall mount. Explore the full setup, functionality, and maintenance instructions for the Sonos Wall Mount in this comprehensive user guide, which provides detailed specifications and guidance on caring for your Sonos product. Sonos Beam Specifications: Wall Mount Guidelines Use the Sonos Beam Wall Mount kit (sold separately, available at sonos.com) and follow the instructions provided in the kit. Maintain a minimum 1″ (25mm) space above the Sonos Beam to ensure accessibility to the touch controls. If mounting above a TV, ensure that the touch controls remain within reach. For optimal sound quality, keep both ends of the Sonos Beam at least 1′ (30cm) away from any wall or obstruction. Mount Kit Contents Wall mount bracket 4 wall anchors 4 wall screws 2 screws Note: Do not discard the template; it may resemble packing material. Wall Mount Pre-Drilling and Installation Wood Stud: Use a 1/8” (3mm) bit for pre-drilling. No wall anchors are required, but use screws. Drywall (No Stud): Use a 5/16” (8mm) bit for pre-drilling. Wall anchors and screws are both required. Hard Wallboard or Double Board: Use a 5/16” (8mm) bit for pre-drilling. Wall anchors and screws are both required. Plaster: Use a 5/16” (8mm) bit for pre-drilling. Wall anchors and screws are required; toggle bolts may be needed. Concrete or Brick: Use a 5/16” (8mm) bit for pre-drilling. Wall anchors and screws are both required.
| Color | Black, White |
|---|---|
| Size | OS |
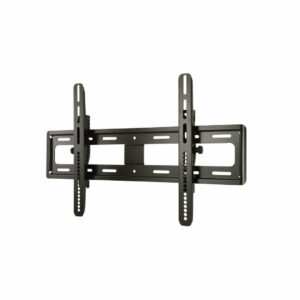
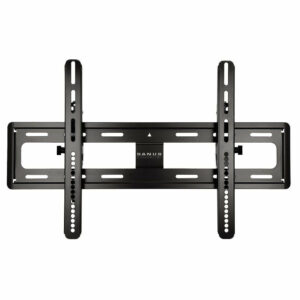
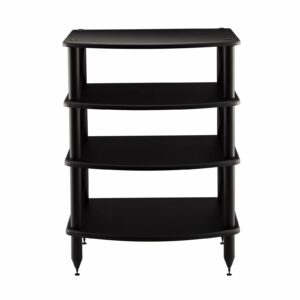
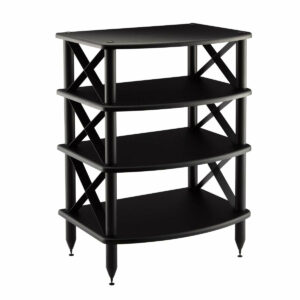
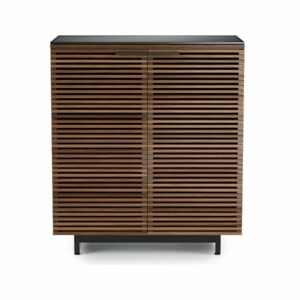
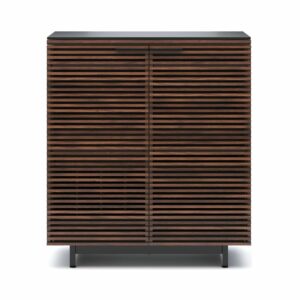
Related products
$79.00
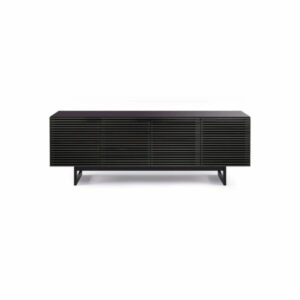
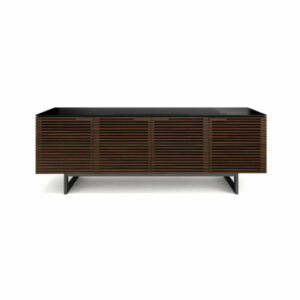
$99.41
$85.88